Tuesday, December 30, 2014

Warming Vanilla Chai


Hello, dear ones! I hope you've been having a lovely holiday. If you're getting to enjoy a few more long leisurely mornings with your kids, this is a lovely way to make them even lovelier. Or brew up a pot next week when the kids get home from school, to make a gloomy darkling afternoon a little more fragrant, a little warmer. Sending love and all best wishes for you in the new year. xo

I was inspired to start making chai because of a facebook post an old friend had written that was really just a photo of the hot spiced cider she'd made her kids on a weekend morning. It seemed like such a lovely thing! But we didn't have cider.
To make the chai, you will need these things. And if you have other things, use those instead. For instance, ground spices are okay! Not ideal, but okay. I have definitely used them and it was definitely better than having no chai at all.

2 cups water
3 thickish slices fresh ginger, smashed with the side of a heavy knife
1 tablespoon green cardamom pods, smashed up a little with a knife side or in a mortar and pestle (or 1 teaspoon ground cardamom)
½ a cinnamon stick, likewise (or 1/2 teaspoon ground)
½ teaspoon peppercorns, ditto (if you only have ground pepper, skip it)
3 black tea bags (I use a decaffeinated vanilla-scented black tea made by Bigelow)
2 cups milk, ideally whole
2 teaspoons vanilla
Honey to taste, between 1 and 3 tablespoons

If you have to skip an ingredient, make it not be the cardamom, although ground is okay, as long as it's nice and fresh-smelling.
Put the water in a smallish pot with the ginger, cardamom, cinnamon, and pepper. Bring it to a boil over medium heat, then turn the heat down to low and simmer, covered, 5 minutes.


Add the tea bags and simmer another 3 minutes, then add the milk and heat just until it's hot.

If a splash of half and half ended up in the pot, nobody would complain or even know.
Stir in the vanilla and honey to taste, then pour the chai through a sieve into a tea pot, making a hugely ginormous mess as you go. (Pouring it into a spouted measuring cup will make this process a little tidier.) Enjoy!

Wednesday, December 17, 2014

Spirograph Ornament "Tutorial"


Heads up: this is a terrible tutorial. I mean, seriously. It is confusing, and I mostly don't show any of the steps. If you speak Scandinavian Language, you can go read the DIY Julekalender page, where I first saw this idea. (I was able only to puzzle over the pictures.)


Also, the gift guide is still here. (We are generating commissions on Amazon, so look for a give-away here soon!) Plus, because this is an atheist multi-faith blog, latkes are here. Even though I made them with a great and kvetching crankiness last night, and my hair still smells of French fries.

Anyways. Last year, when we were in the thick of our recurring Spirograph obsession, I wanted to document it with an ornament. And this is where I landed: a string-art Spirograph-style ornament made from clay and embroidery floss. You can use it to teach your kids the principle of the Bézier curve—something round made from straight line segments—or you can just shut up and hang it on your tree like a normal person.

(Did I mention that Birdy’s LEGO Robotics team. the Cyborg Echidnae, is going to the state championships on Saturday? Geeks of the world unite!)

These are fiddly and require a bit of time and patience—but they’re also incredibly fun and satisfying once you get the hang of it, and they come out really cool and make great gifts. You’ll need some air-drying clay (I really like paper clay for this, because it dries with a porcelain finish) or, if you don’t have it, I imagine that oven-bakeable polymer clay (e.g. Fimo or Sculpey) would work just fine, as long as it bakes up hard. If the wreath shape is flexible after baking, you are going to want to kill somebody. Me, maybe.


Start by making a wreath-shaped paper template. I used a pair of nesting circle cookie cutters, which I then used to cut out the clay shape. But if you don’t have cookie cutters, you can later trace around your template with a knife and cut your clay that way. The main reason you’re making the template is so that you can figure out where to poke your holes. You’ll want an odd number of them, evenly spaced. I’m a real trial-and-error kind of gal: I kind of dummied them in with pencil, erasing and respacing until it looked right (I went with 13). Another option is to stick your teenager on the case. Tell them to figure it out using geometry or calculus or whatever the hell math they’re doing these days.

Once you have the holes spaced on the paper, use a hole puncher (mini if you’ve it) to cut them out.

Now roll your clay out as evenly as you can on a piece of wax paper. One quarter inch is a good thickness. Use your cookie cutters or the template and a knife to cut out a wreath shape, then lay your template over the clay wreath and use the blunt end of a skewer to poke holes where you’ve marked them. Make more wreaths, if you like. Bake or air-dry your clay according to the package directions. It will warp a little as it dries. C’est la vie.

Paint the dried ornament, if you want to. I used silver acrylic craft paint. Let the paint dry.


Now thread a needle with a long (like 2-foot) length of embroidery floss—I like the extra-shiny (I think it's called "satin floss") and/or metallic kind for this—and knot a bead through the end, to secure the floss to the ornament, since you won’t be able to make a big enough knot otherwise. Take a minute to rub the length of floss back and forth along a candle, to make it a little bit waxy and stiff. This sounds crazy, but it really helps the thread not be so slidey and annoying to work with.
An illustration of the process.
Start threading. Push the needle through the backside of the ornament and begin threading your pattern, keeping the floss as taut as you can while you go. The way to do a pattern is to count some number of holes away from your starting hole, say 4 (let’s be working clockwise) then push your needle in there, then come back up one hole to the right of where you started, and push in one hole to the left of where you pushed in last. So if you think of your first hole as #1, you’ll come out there, then go down hole #5, then out hole #2 and down hole #6. Does that make sense?

See?
Do this until you complete the circuit, being sure to get really confused and frustrated along the way. And to run out of thread. For which there is no solution! So do start with a long piece. When you’re done, knot back through the bead, adding a dab of hot glue if it seems at all precarious.
Like so.
Then, if you like, do a different color, with a different pattern. As a general rule, you’ll probably want to start with darkest floss color and densest pattern, then move into lighter colors and more open patterns—but really, experimentation is half the fun. Unless this is not fun to begin with, and then half of 0 is 0, alas.

Now tie on a piece of thread for hanging and hang it! Huzzah! The miracle of etc.

Wednesday, December 10, 2014

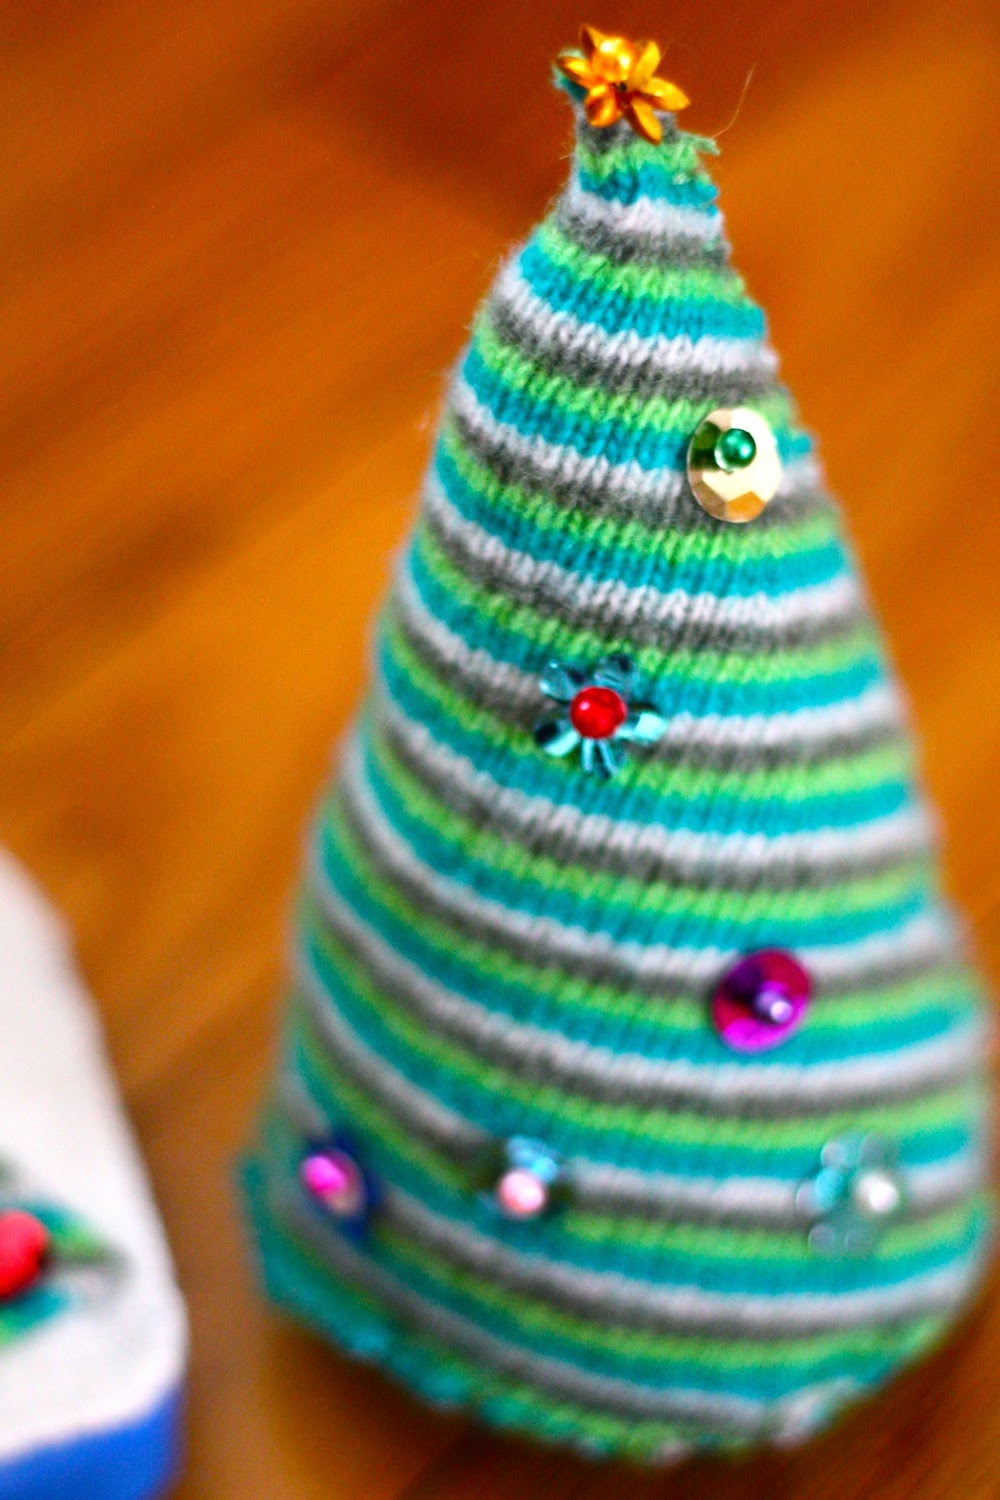
Little Felt Tree Tutorial *with actual instructions*

I'm a little felt tree that your kids can decorate and redecorate!
Are you here for the gift guide? Fret not! It's right there.


And, as per someone's request--a lovely someone who actually has this recipe printed, but fretted over the availability of it to others--the giftable grapefruit marmalade recipe is now here. I am making this tonight. Act surprised when you unwrap it, okay?


Likewise, the peppermint patties are here too. And I have pieces in this month's O magazine and FamilyFun and, as always, Real Simple, if you get a chance to look!


But I'm writing now because I was reviewing my instructions for the little felt trees here, and I felt like they were a little, oh, I don't know. . . 


So I'm going to try to offer a little more guidance this time. Ready? 


Make a pattern. You'll do this by tracing something large and round, such as a dinner plate onto a piece of paper. Cut out the circle and fold it into quarters. Voila! A pattern!


Now use this pattern to cut a piece of felt. I am using a washed and dried wool sweater (I say more about felting thrift-store sweaters here), but you can use any kind of felt: wool, acrylic, even polar fleece, come to think of it. Of course, I love upcycling, and I love weird wool sweaters, so that's always the direction I head. 

Note that I am using a rotary cutter and am too lazy to do anything but hold down the pattern while I cut. If you are using scissors, then secure the pattern first; I find that pins or double tape both work well for this.


Now fold up your felt shape and use a needle threaded with a longish piece of embroidery thread to stitch up the side from top to bottom, leaving your needle and thread attached when you get there.


Now pop open your cone shape on a piece of paper and roughly trace around the bottom. Then find a circular object that is more or less that size, and trace around it to make a pattern for the bottom of the tree.


This is not an exact science. Use the pattern to cut a circle from your felt.


Place the felt at the bottom of your cone (again, pinning could be useful but I am too lazy to bother) and pick up your needle and thread where you left off to begin stitching on the bottom. I am using a _____ stitch. What the f is it called? Whip stitch. 


When you're about 2/3 of the way around, stop sewing (leave your needle and thread where they are) and stuff your little tree. I used polyester stuffing, but you could use cotton balls or felt scraps or, like my mom used to, old pantyhose if you prefer. After it's nice and stuffed put something heavy at the bottom to weight it. I like beach rocks for these, but I was out, so I put in a few handfuls of dried peas. Pinch the bottom to the tree and sew it up the rest of the way, making sure to run out of thread when you are one fucking inch from the end, so you'll need to tie off and rethread and sew two stitches and tie off again.


Now put some sequins and pretty pins in an Altoid tin. I got all of these things at Michael's: the sequins came in a bag where the crafts are, and the "pearlized" pins were in the sewing area. There's lots of both, in case you want to make these as gifts. Which you really might, because they are so cute.


I used hot glue to decorate the tin's top with felt (and some of my thumb skin) because I am meticulous like that. Trim the felt *after* you glue it on or you will be ruing the day. That's it! It takes about half an hour start to finish, and it is seriously worth it because it gives the kids something to do while they are waiting for Christmas or to open a little flap or to light the menorah or eat a chocolate coin or for you to be done drinking eggnog or any number of the things they are stuck waiting for in December.