
 |
| There's a new tallest-person in town putting on the star. |
 |
| Mostly all we do is talk in Snapper's little voice about how excited he is for Christmas. Every morning there are 30 ornaments on the floor. |

Anyhoo. Before you start, make sure you have some green felt and some spruce or pine essential oil. You can get the oil at a store like Whole Foods, or you can order it online. (I have this, and like it, but you could get this from Amazon.) Start by making your paper template. I Googled "pine tree template" and scrolled through images until I found the one I liked best, which was this:

But it would also be cute to use something more traditional, a la:

Or, of course, just freeform it like a normal person. Whatever you use, scale it to about 4 inches high. I did this by taking a screen shot of the image, and then resizing it in the Preview program on my Mac. (It's not rocket science or anything, but there's definitely always a moment when I'm sure how to do the thing I want to do on a computer, even if that thing is very very stupid and basic.) Print your template, and cut it out.

Now stick it to some nice green felt with a piece of double tape or a pin and cut out two trees, one at a time. (I used some lovely wool craft felt that I happened to have, but you could use a shrunk sweater or even crappy acrylic felt. It doesn't matter that much, since I'm not thinking of this as a real heirloom type project, if you know what I mean.)

Now cut a piece of felt to sandwich in between the trees (one that won't extend beyond them), and saturate this piece of felt with essential oil. I mean, really go for it. Some will even bleed through the felt, and that's fine, although if you get a weird rash, don't come crying to me about it.

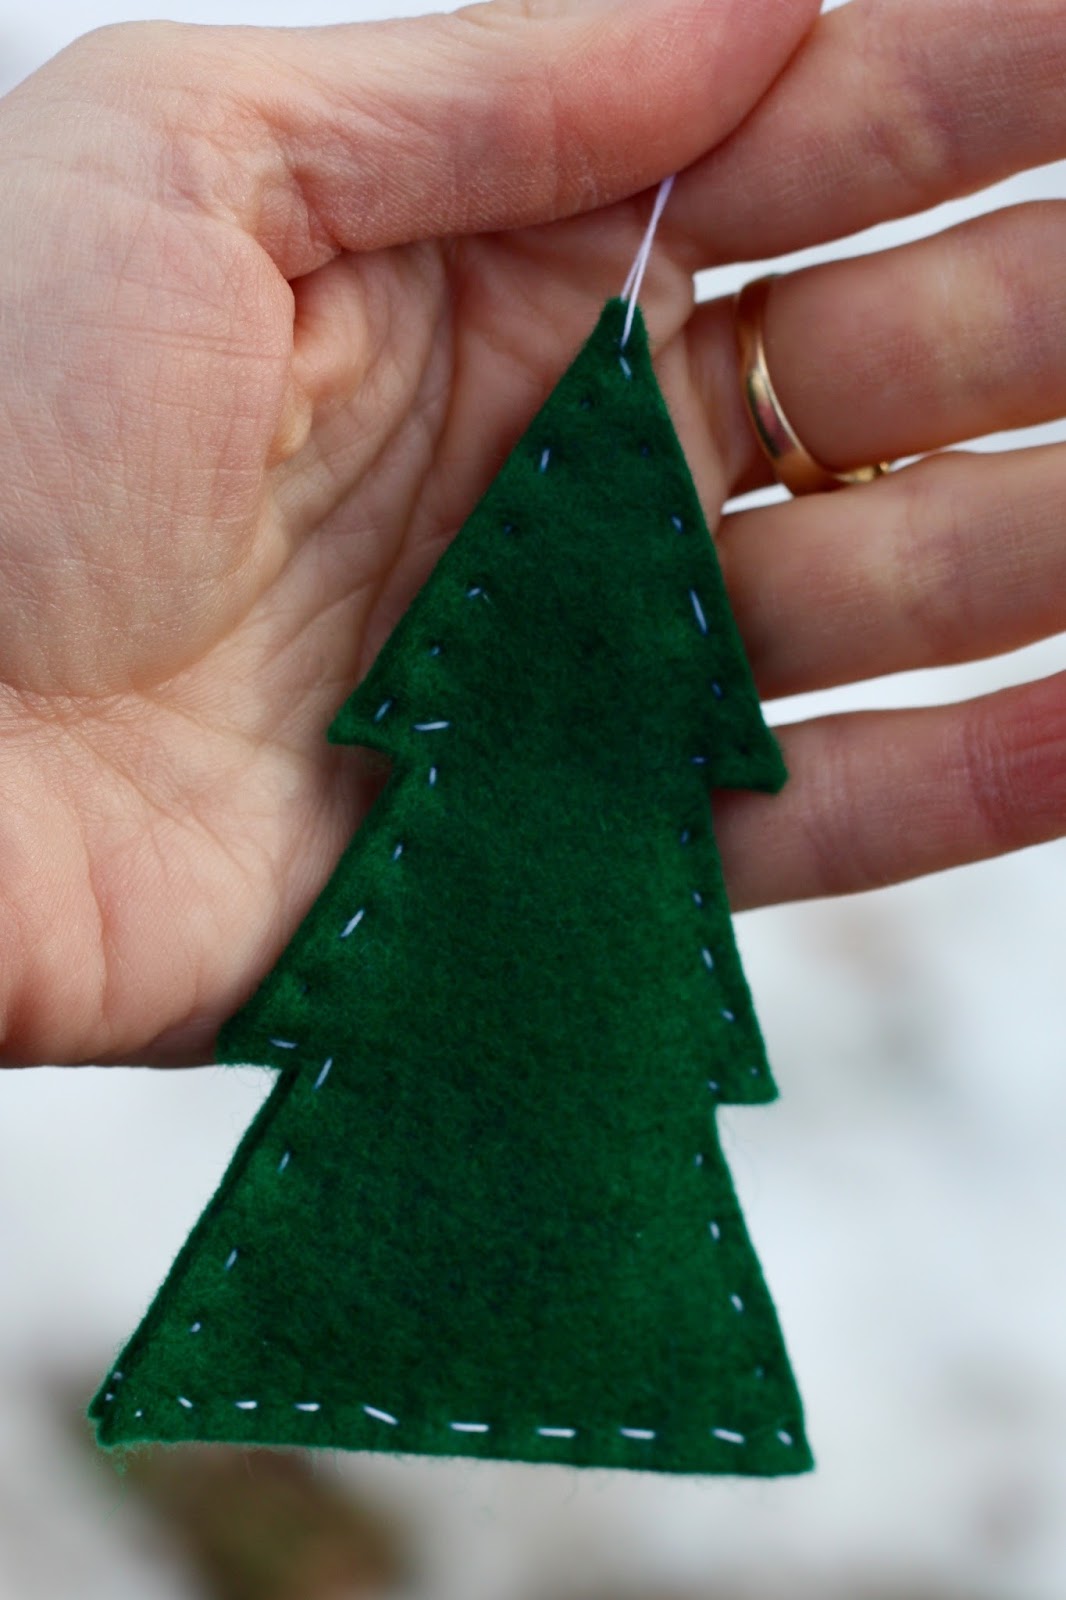
Now pin the two trees together and stitch around them. I used white thread and a very basic little running stitch because I had this idea of how I wanted it to look, but you can do whatever kind of sewing you like with whatever kind of thread because the world is your holiday oyster!

Finish by tying a thread through for hanging, and voila! The world's weirdest holiday gift.
Sending so much love to you all, now and always. xo
